

This post may contain affiliate links. Read our full disclosure.
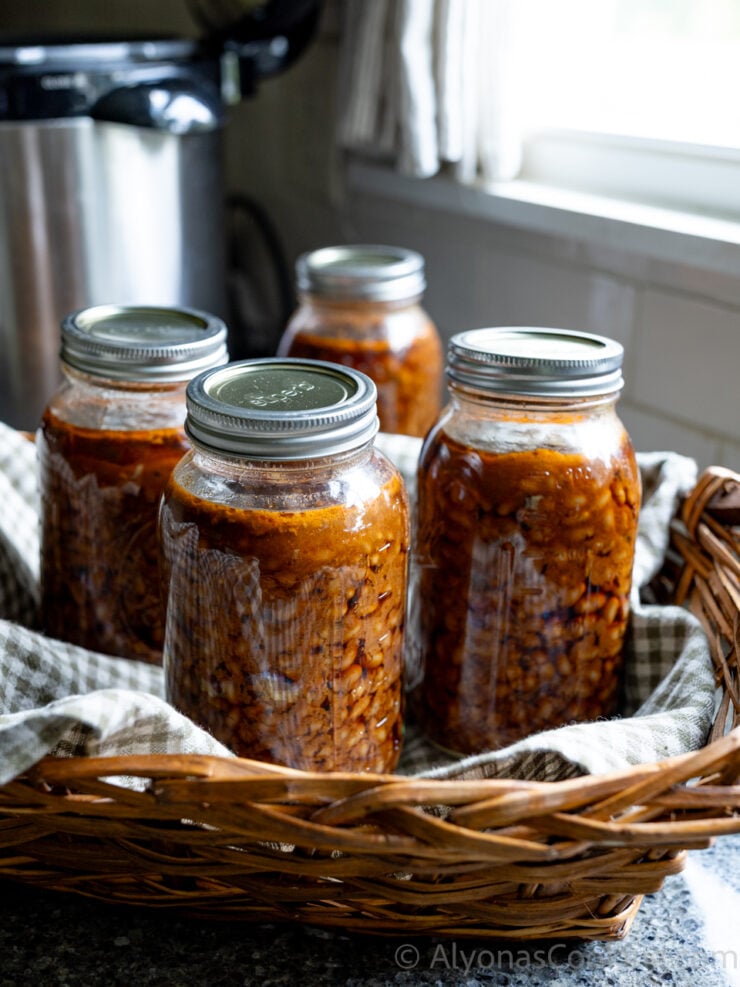
I absolutely love these homemade baked beans! And my son does, too!
Serve these with BBQ chicken sandwiches, and it will be hard to distinguish between Bush’s and these!
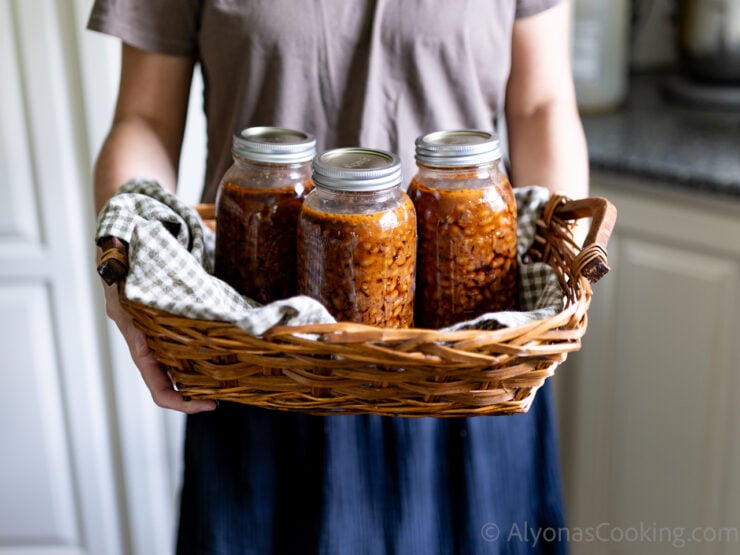
They are incredibly easy to make at home using dried navy beans and a little molasses!
I get to control the ingredients and enjoy delicious baked beans year-round with this canning recipe!
Homemade Baked Beans
I got this beloved recipe from my Mennonite friend. Her parents were Amish, and they do A LOT of canning!
Her recipe is such a good base to get started. And most of all, they’re so easy!
I’ve only perfected the recipe over the years because hers did require some guesswork, like how much water for the beans to make them saucy?
These are known as Boston baked beans in many old cookbooks. And that’s basically how Bush’s store-bought beans taste.
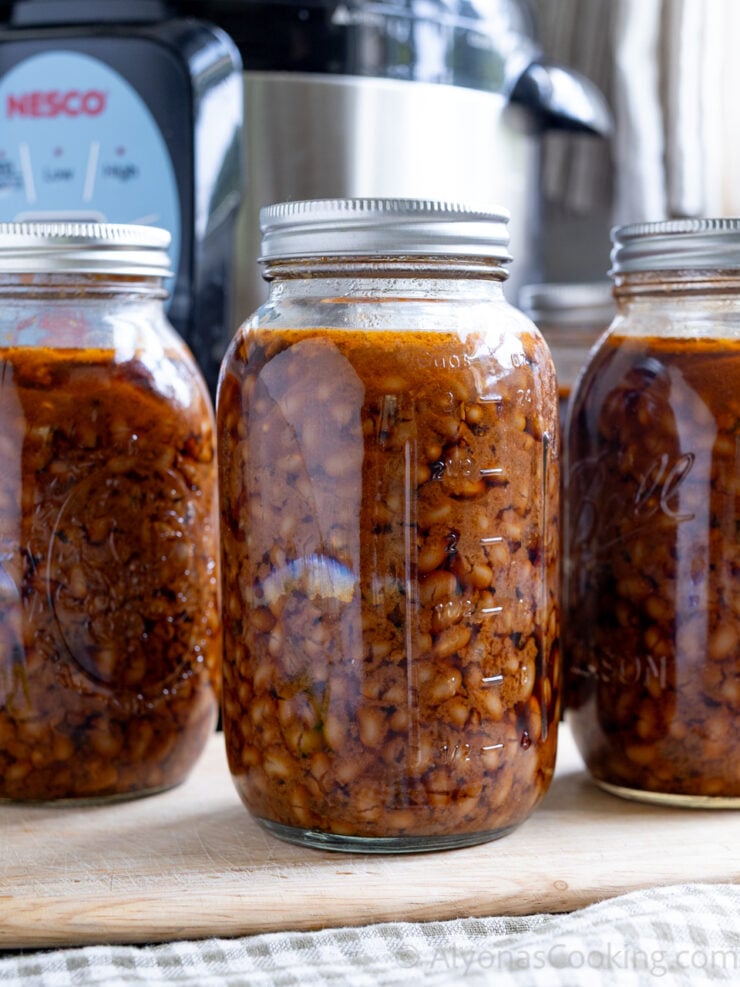
Most recipes use pork/bacon, but you can skip the bacon when canning to make them completely vegetarian.
This recipe works with and without the bacon and is safe for canning at home. The pressure canning time for this recipe was taken from a Mennonite Cookbook called “The Practical Produce Cookbook” that had bacon, and so I applied it to this recipe.
If you leave out the bacon bits, you can always add them when you’re ready to bake them, too.
I prefer to have everything in a jar, so I can just dump and bake the beans. That way the only thing I need to do is add a splash of water and bake it in a crock.
Boston Baked Beans like Bush’s
Anyhow, if you’ve been wanting to make from-scratch baked beans, this is the recipe to try.
It has the perfect amount of molasses, isn’t too watery, and stays shelf-stable for a long time. So, next time you’re asked to bring a side dish to your BBQ gathering, you can smile in confidence that you’ll be bringing the baked beans!
Boston baked beans are rich in fiber, smoky in flavor, and sweet from the molasses and brown sugar. You can substitute part honey for the brown sugar as I do for my Homemade Canned Ketchup Recipe. However, that is if you want to use less sugar (these are perfect in sweetness).
Canning Your Own Baked Beans At Home
To start, you will need some quart or pint canning jars. This recipe is suited for canning, although you could bake the mixture right after mixing.
Let’s walk through how to make canned baked beans step-by-step, and don’t forget to leave a comment if you have any questions.
Soak the Navy Beans Overnight
Soak the beans the night before you plan on canning them. Into a large bowl, add two 1-pound bags of dry navy beans. Top with 16 cups of water, and let this soak overnight.
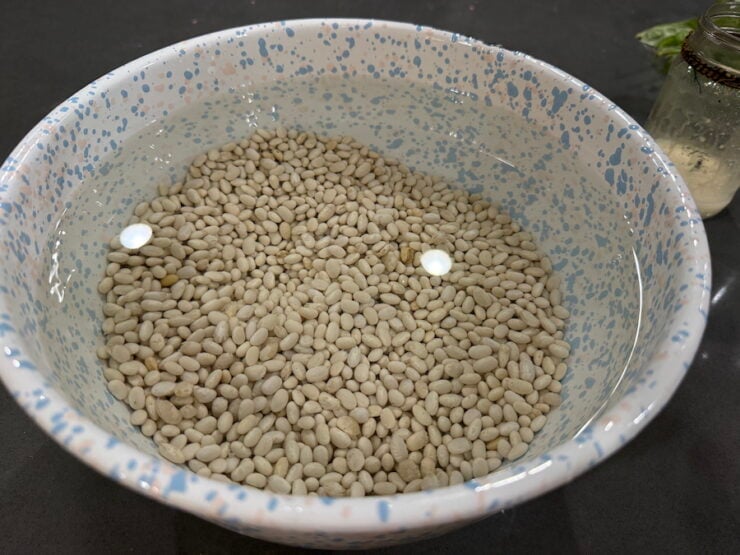
In the morning, drain off the water into a large colander, and discard any blemished or discolored beans.
Alternatively, you can follow the method for quick soak instructions on the package of the beans, but I prefer to soak overnight.
Slightly Cook the Beans
Because these will be pressure canned, it is not necessary to fully cook the beans (you don’t want mush). They will continue to thicken in the jars after processing.
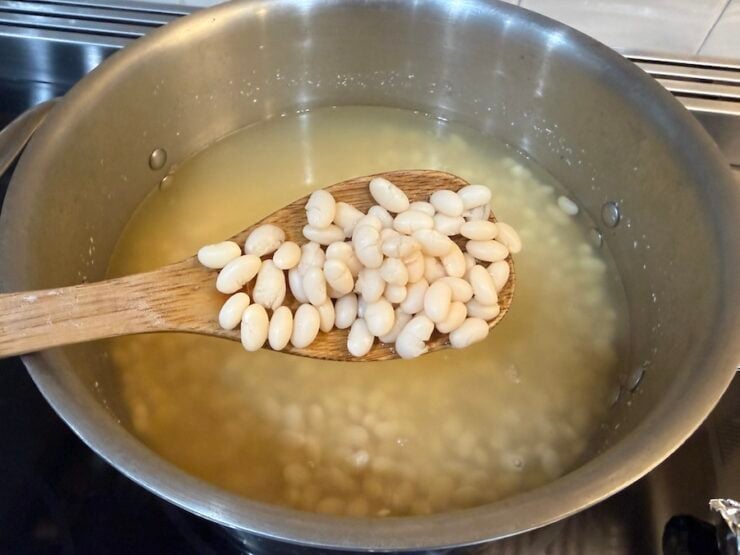
So, you’ll need to transfer the drained beans into a large pot. Cover with 12 cups of water and bring to a boil. Then cook and simmer the beans for 50 minutes over medium-low heat.
It is normal for foam to collect on top after the beans come to a boil. I just skim that off using a fine mesh spider strainer.
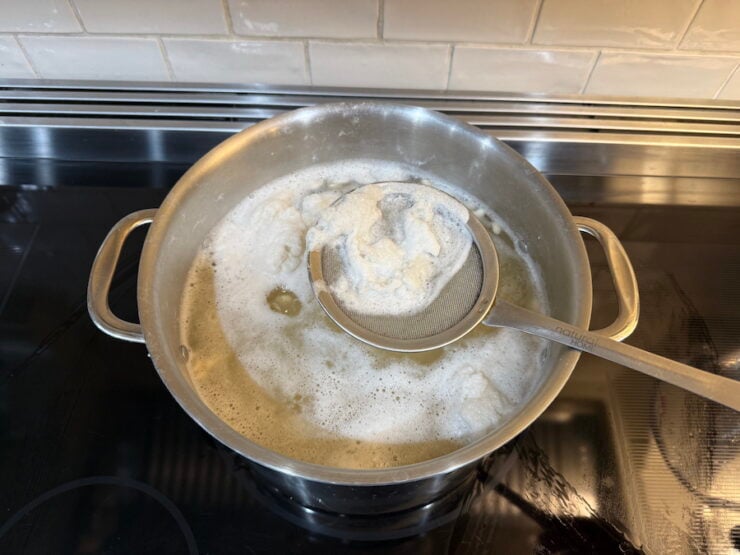
The beans should be just getting soft at this point. Next, remove 3 to 4 cups of the liquid (you can discard this). The liquid should now be to the level of the beans.
Molasses Sauce
Once some of the water has been drained from the cooked beans, make the sauce.
You could add all these ingredients directly into the pot of beans, but I like to give them a good stir, not to overwork the beans.
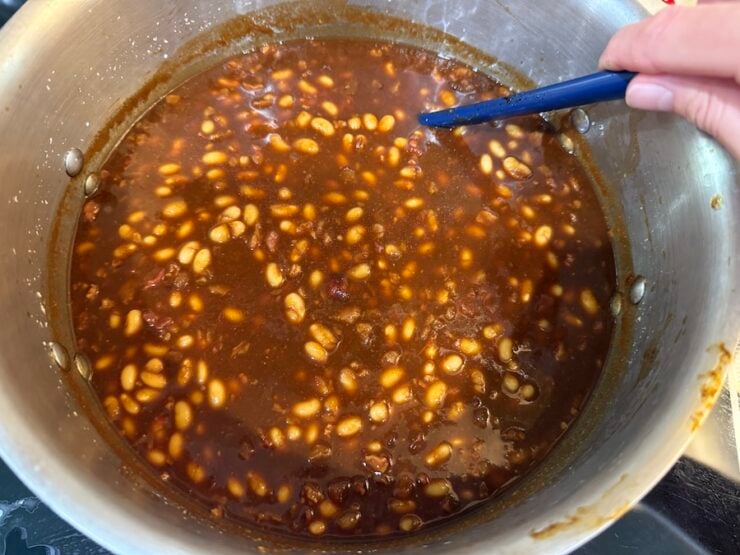
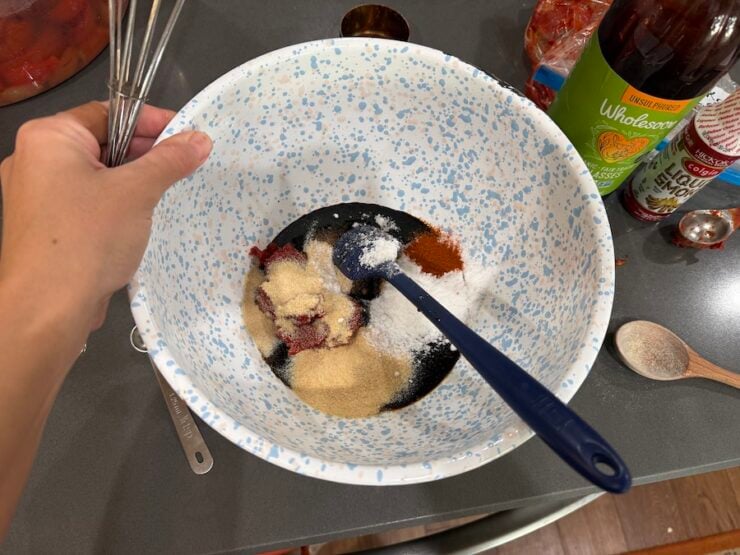
Mix together the molasses, tomato paste, liquid smoke, onion powder, garlic powder, salt, paprika, ketchup, Worcestershire sauce, yellow mustard, brown sugar, and bacon bits.
I use a whisk when I stir this together. Then, pour this mixture over the pot of beans. Using a rubber spatula, carefully fold in the sauce to coat well.
Prep Canning Jars
You’ll need to sterilize empty jars. If you are not familiar with this process, you can read this article from the National Center for Home Food Preservation.
I personally like to wash my empty jars under very hot tap water. My friend runs hers through the “sanitize” dishwash cycle.
Once your jars are clean and sanitized, stand them up on the counter for filling.
Pack Jars with Sweetened Beans
Using a canning funnel, ladle the hot beans into the jars. Leave a 1-inch headspace and wipe the rims clean (to seal). Cap each jar with a lid and screw on a band just until it’s finger-tight.
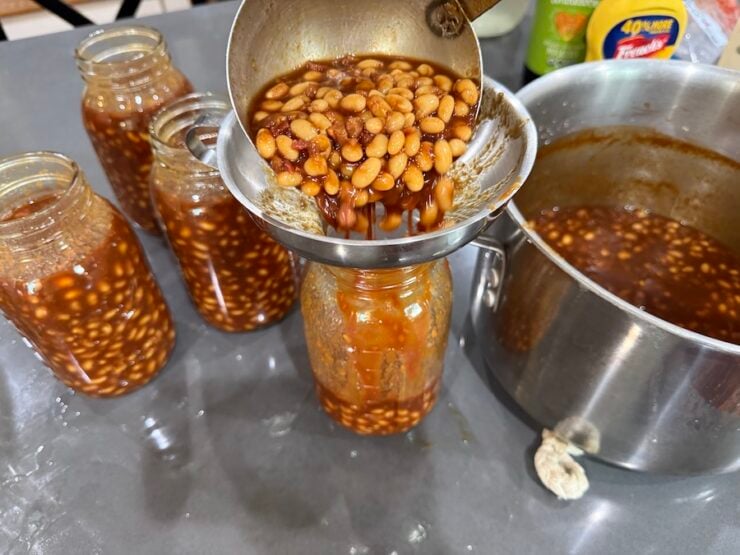
I say finger-tight because if you shut them too tight, they can burst in the canner when the pressure is building up.
Canning Baked Beans at Home
After you fill the jars with the saucy beans, pressure can them. Follow the instructions for operating an electric canner. Mine requires using 8 cups of water and a trivet.
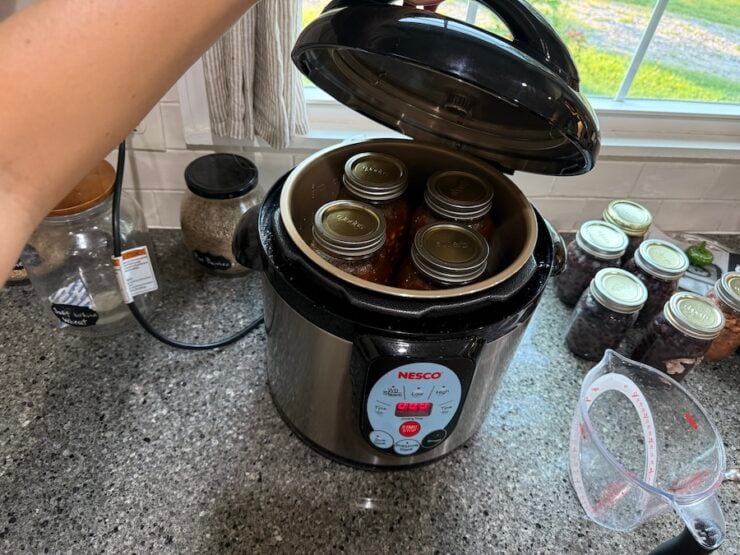
Pressure can the beans at 10 pounds of pressure (pints for 45 minutes and quarts for 75 minutes). On the electric canner, this is basically selecting “High”. Let the beans naturally depressurize for at least 20 minutes before opening the canner.
This recipe makes about 5 quarts (depending on how much water you drain) or 10 pints. I had 4 quarts and 1 pint of baked beans this last time, and that’s with draining 4 cups of water from the cooked beans.
I used my favorite electric canner (which only fits 4 quarts or 5+ pint jars).
So, I processed the one pint jar in my Instant Pot on High pressure for 55 minutes. Then let it depressurize naturally for 20 minutes before removing.
To do this, you need to add about 6 cups of water to the bottom of the Instant Pot (trivet won’t work as the bottom of the jar needs to be in two inches of water).
Note: DO NOT try to tighten the jars shut after the canner. The lids can explode open. There is a lot of pressure in the jars even after removing.
Cooling and Checking Lids
After they processed in the canner, carefully remove the jars using canning tongs. Allow the jars to cool overnight before checking if the lids sealed.
In the morning, simply press down on the center of each cap to see if they sealed. If nothing pops up or down, it means the jars vacuum-sealed shut. Unscrew the bands (to reuse in other canning projects) and store your homemade baked beans on the shelf!
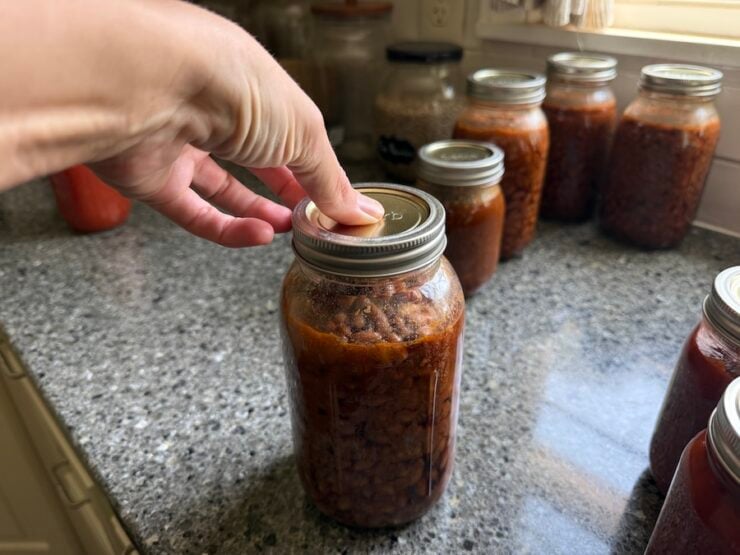
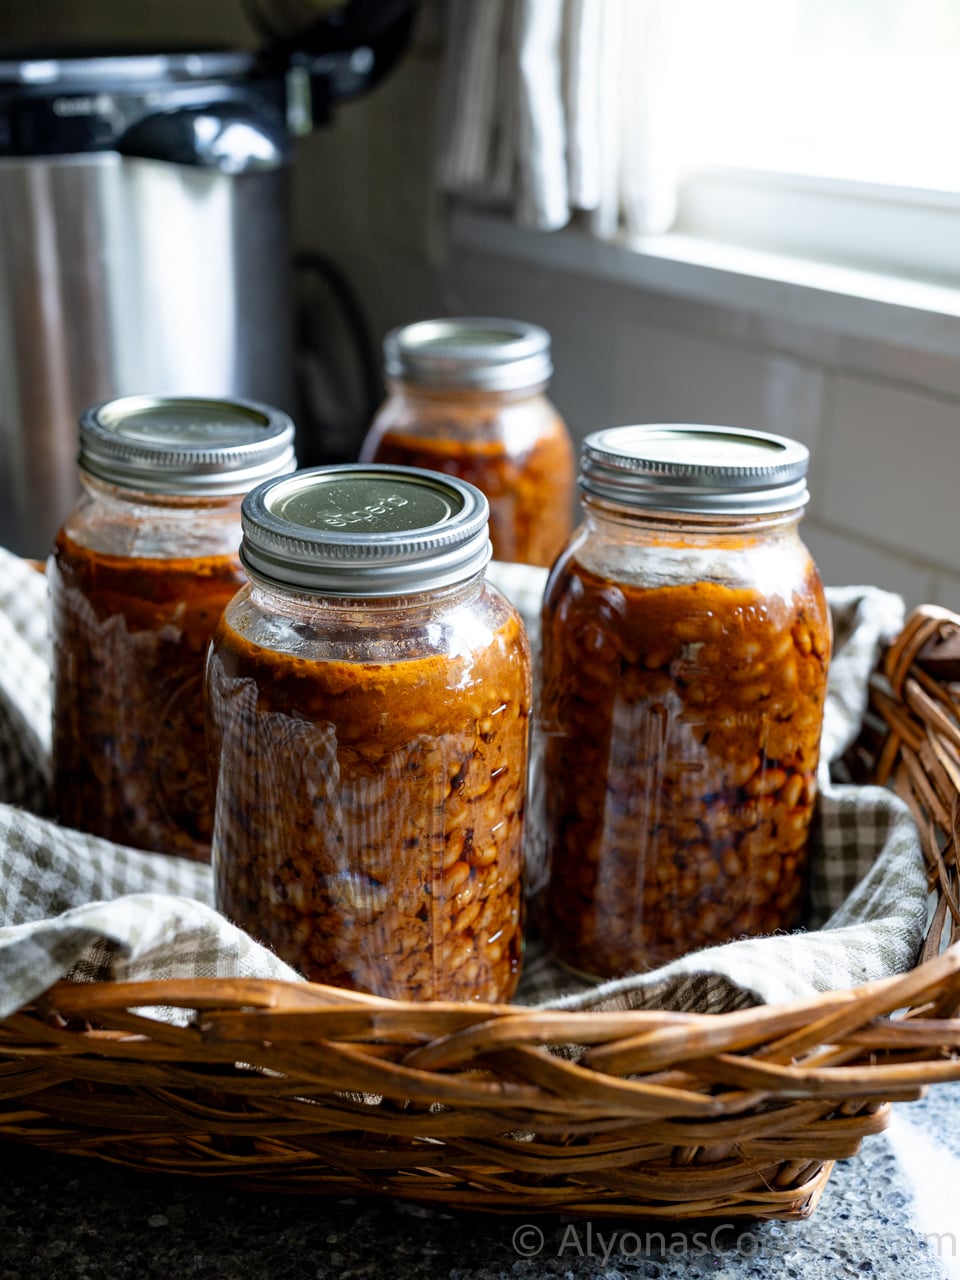
Mine lasts for years!
Reheating Baked Beans
When you’re ready to serve baked beans, preheat the oven to 350°F.
Open a jar of the canned beans and pour the mixture into a small baking dish. Cover and bake for 30-45 minutes.
The more beans you want to reheat, the longer it may take until it’s nice and bubbly.
Join My Weekly Newsletter
New recipes, homesteading, family life, what we eat in a week, and hospitality tips.
Pin this now to find it later

Canned Baked Beans Recipe (Bush’s Copycat)
Equipment
Ingredients
- 2 lbs dried navy beans , (about 4 1/2 cups)
Sauce:
- 2/3 cup blackstrap molasses
- 2/3 cup ketchup
- 2/3 cup brown sugar, (scant 2/3 cup or 10 Tbsp)
- 6 Tbsp tomato paste , (1/3 cup)
- 1/4 tsp liquid smoke, (Hickory flavor)
- 1 3/4 Tbsp onion powder
- 1 3/4 Tbsp garlic powder
- 3 Tbsp salt
- 1/4 tsp paprika
- 5 Tbsp Worcestershire sauce
- 5 Tbsp prepared yellow mustard
- 1 cup bacon bits , (slightly heaping cup or 15 Tbsp)
Instructions
- Soak the beans overnight in 16 cups of cool water.

- Drain the soaked beans in a colander, and remove any blemished ones. Transfer to a pot. Fill with 12 cups of water and bring the beans to a boil. Then simmer for 50 minutes over medium-low heat. Skim off any foam.
- Meanwhile, in a large bowl, whisk together the remaining sauce ingredients (2/3 cup molasses, 6 T tomato paste, 1/4 tsp liquid smoke, 1 3/4 T each of onion and garlic powder, 3 T salt, 1/4 tsp paprika, 2/3 cup ketchup, 5 T Worcestershire sauce, 5 T yellow mustard, 10 Tbsp brown sugar, and 15 Tbsp bacon bits).
- Once the beans have cooked for 50 minutes, remove about 4 cups of liquid from the beans. Make sure the water is at the level of the beans. If you prefer more saucy beans, then only drain off 2 cups. Stir in the sauce until it's mixed in well.
- Ladle beans into sterilized and clean jars, leaving a 1-inch headspace. Wipe the rim and cap. Screw the band only until finger-tight.
- Pressure can jars at 10 pounds (on high in an electric canner) for 75 minutes or pints for 45 minutes. Let beans depressurize naturally for 20-30 minutes before removing. Cool completely before checking for seals.
Notes
- To reheat baked beans. Open the jar and pour into a small baking dish. Add a splash of water if needed and bake in a preheated 350°F oven for 30-45 minutes. The more beans you reheat, the longer it may take until it’s bubbly and hot.
- Do not shut the jars any tighter than finger-tight; they can burst open in the canner when processing.
- To sterilize jars easily, wash them on “sanitize cycle” in the dish washer. I like to wash them under very hot soapy tap water.
- Every time you need to let another round of jars process in the canner, drain off a couple cups of the water from the canner and replace it with the same amount of cold water, not to shock the next set of jars.
- When removing jars from the canner, don’t be tempted to screw them shut. They can burst open, with so much pressure built inside. Place them carefully on the counter and let them cool overnight before checking for seals.
- This recipe makes about 5 quarts (depending on how much liquid you strain). The last time I made them, I strained 4 cups of water out, resulting in 4 quarts of baked beans and 1 pint. For that 1 pint, I pressure cooked it in a couple inches of water (6 cups of water, no trivet) inside the Instant Pot, on High for 55 minutes. Then depressurized for 20 minutes.
- To make canned baked beans better, for every two quarts, stir in 2 Tbsp ketchup, 2 Tbsp brown sugar, 1 Tbsp Worcestershire sauce, 1 Tbsp prepared yellow mustard, and 3 Tbsp bacon bits. You can omit adding the brown sugar if you don’t like them too sweet.
- You can use half honey and brown sugar safely. So, that would be 5 Tbsp honey and 5 Tbsp of brown sugar. This is a great option if you want to use less sugar.
- Vegetarian option: you can leave out the bacon bits if you prefer not to use pork.
- It is normal for the beans to thicken in the jars after 24 hours.
Nutrition (per serving)
Tried this recipe?
Mention @alyonascooking or hashtag #alyonascooking.