
This post may contain affiliate links. Read our full disclosure.
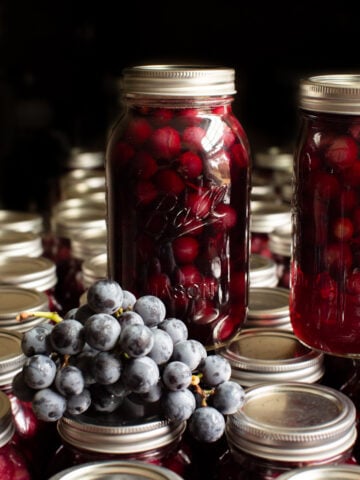
These are the best canned peaches that anyone can make! Similar to preserving Canned Grapes, these are so simple to make with very little effort. I love making Homemade Canned Ketchup as soon as my stock goes low, and canning fruit is no exception!
Canning in Peach Season
In South Carolina, we are in the peak of peach season. Peaches are ready from late May to September around here, and you’ll find them at roadside stands down to Georgia state. They also sell them at flea markets and local farms because South Carolina is known for peaches (they grow so well here).
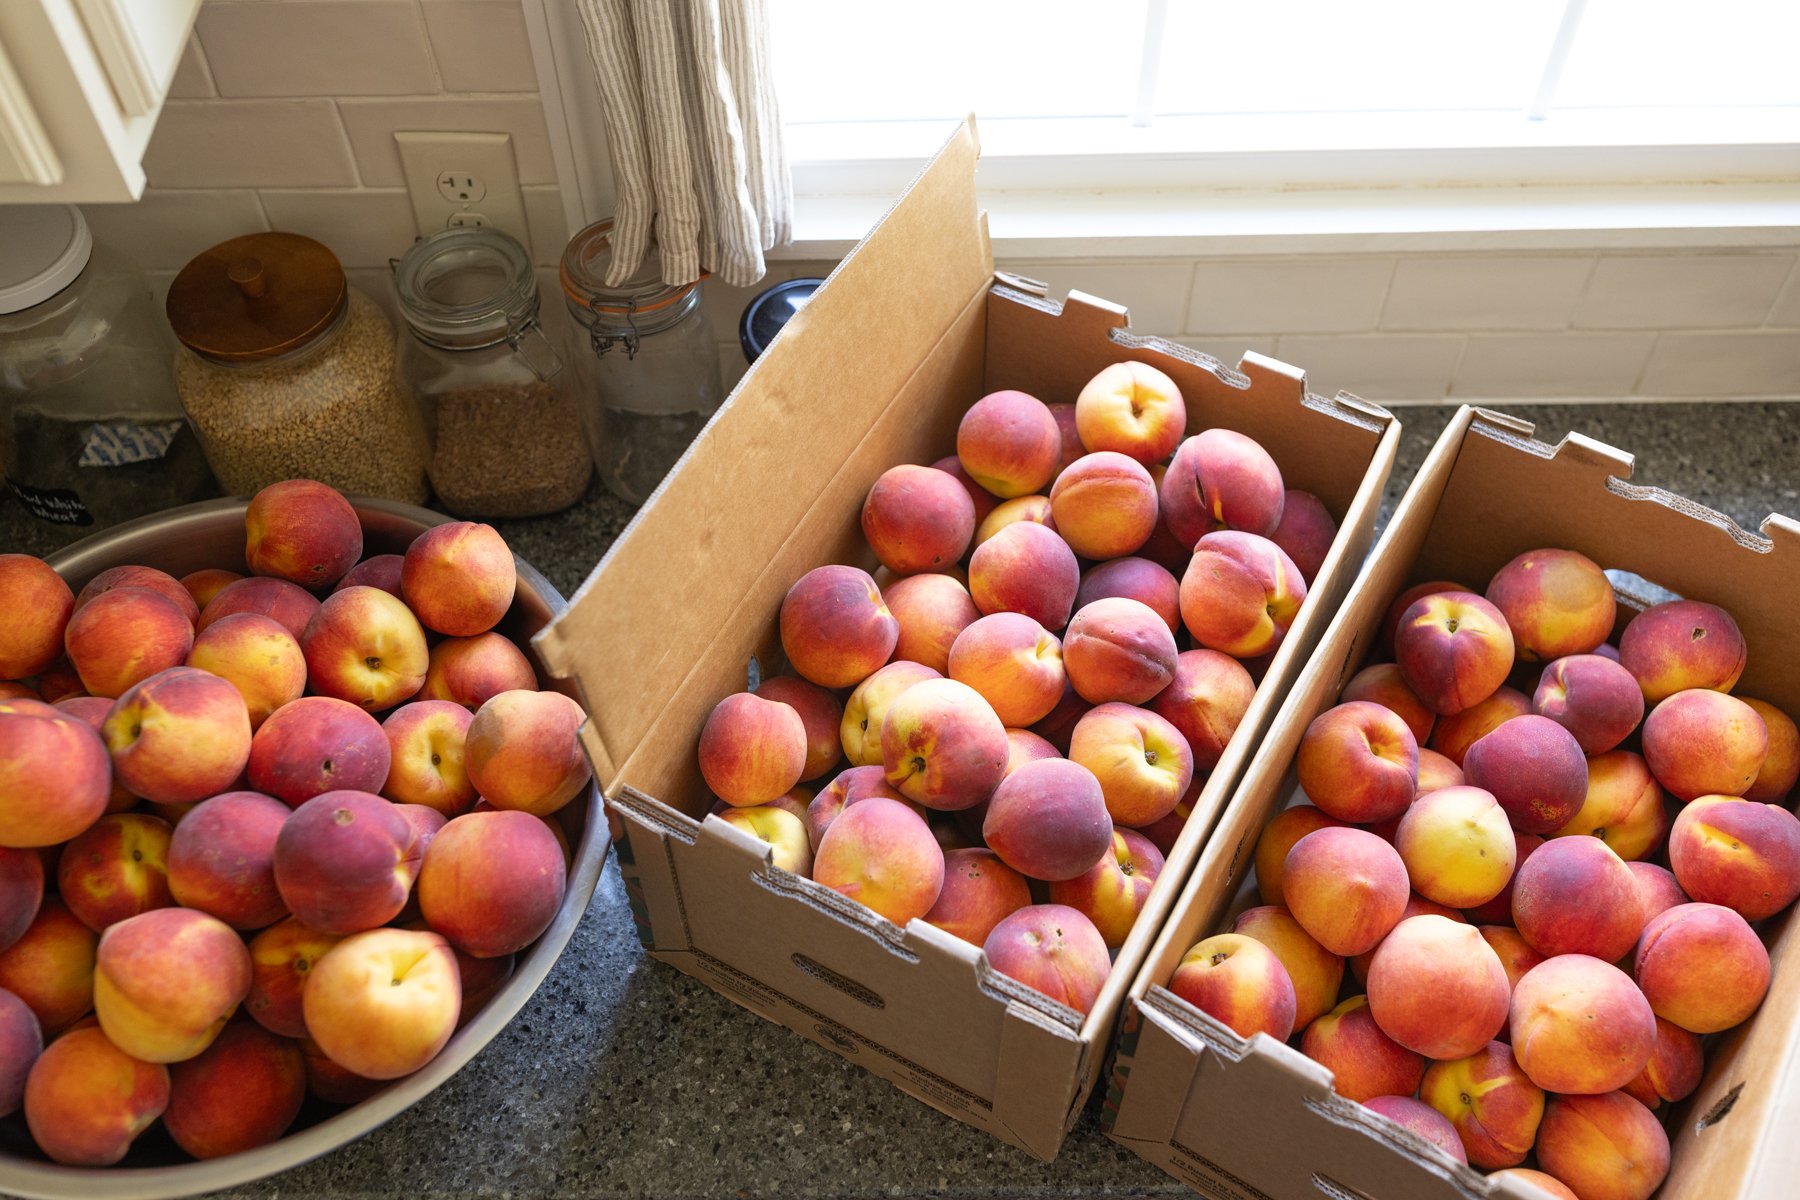
This year, we were blessed by having some friends go down to a nearby farm and pick up 5 half-bushel boxes of peaches.
I’ve canned peaches even when we lived up North with whatever was available, so if you’re in the same situation, making a can of peaches is the way to go. I’ll share more of my tips and what variety works best below, but be assured, it’s easy.
If you have canned peaches on hand, you can make fruit slushies, peach cobblers, pie filling for pies, peach-flavored Iced tea, and so many desserts using canned peaches. My advice is: can peaches and then decide what you want to make because peaches go ripe super fast, and they need to be preserved in a smart way.
Canned Peaches The Mennonite Way:
My favorite way to can peaches is without a sugar syrup. It’s an extra step that I’m not willing to take, especially when working with boxes of peaches. Some ladies make a syrup for peaches, and you can do that if you prefer that your sugar is dissolved immediately. Keep in mind you’ll need extra equipment and time.
One of my Russian Mennonite friends simply adds a packet of stevia into each jar, then some lemon juice and water to the (peeled) sliced peaches. I’ve done this before and love it; however, I don’t tend to keep stevia, so the equivalent to a packet is 3 tablespoons of organic cane sugar.
Some Amish friends prefer to pressure cook the peaches until they reach pressure (5 pounds pressure) and shut it off. Since you only need a couple of inches of water to fill a pressure canner, this comes to pressure more quickly than a water bath and seals the jars.
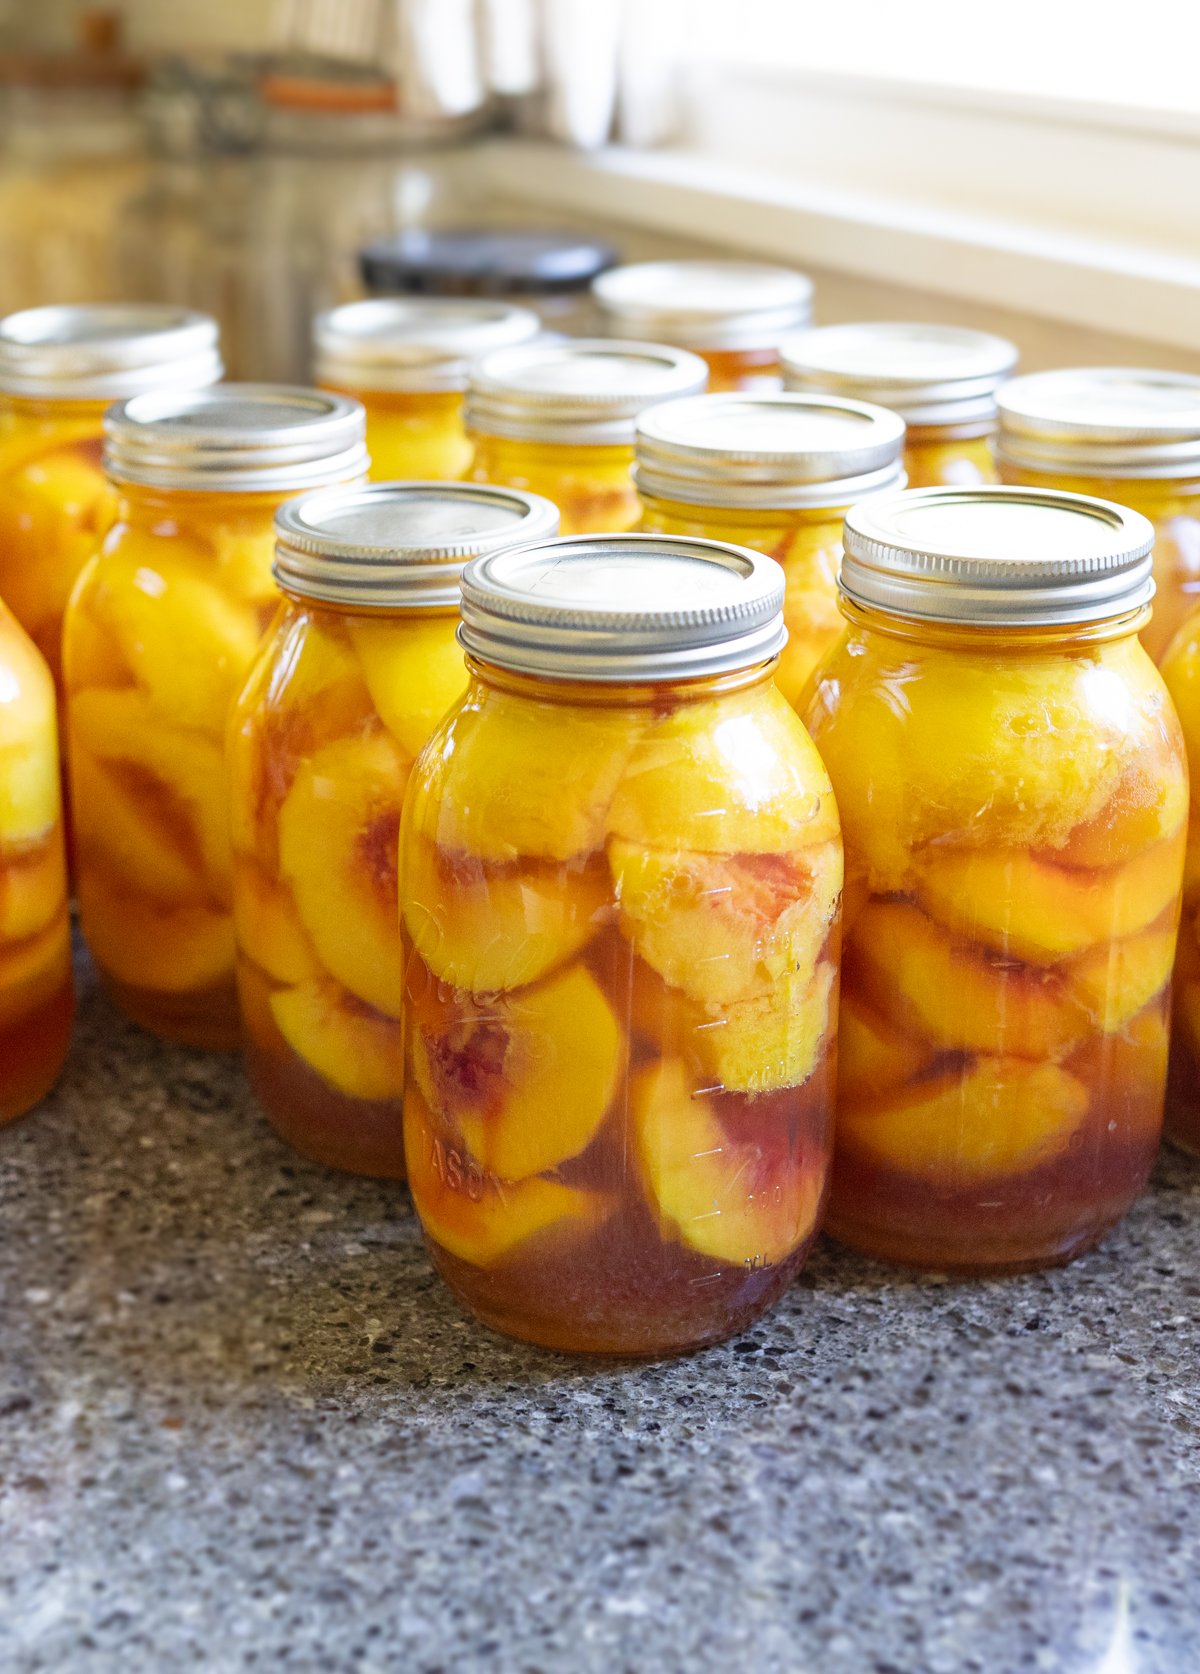
Once the jars are filled, I water bath them for 5 minutes (from the time the water boils) so that they don’t turn mushy. This is the way I was taught, and it works every time. This recipe comes from a mom of 9 children, so she’s well-experienced in her canning journey.
Best Peaches To Use:
I will have to say the variety of peaches you use can make a big difference in the process. Freestone peaches peel easily when blanching in boiling water for a few seconds; however, Baby Golds have to be peeled with a peeler. The peaches I used for this blog post were the Red Haven variety, and super easy to work with and eat. They have smoother skin than the more fuzzier varieties.
When canning peaches, look for firm peaches without lots of bruises or dents (those can be frozen). Peaches ripen fast, so allowing them to ripen after you bring them home will give you time for another canning day.
Clingstone peaches can be harder to remove the pits, but have a sweeter, juicier flesh than the freestone peaches. Here is a slicing guide to remove those pits if you’re struggling. The only variety you’ll want to avoid for canning peaches is the white flesh variety, which has a lower acidity. My best advice is to find a peach farm near you and take the extra drive to get your hands on freshly picked peaches that are still firm.
Can You Eat Peach Skin?
The skins of peaches can be eaten if they are washed well. However, not all like the texture of the fuzziness. When canning peaches, they should be peeled off the flesh so that later they don’t float around in the jar.
Have you ever wondered “How Do You Can Peaches”? Let’s get started! Here’s everything you need to know for canning peaches at home.
Mise en Place
Equipment:
- Water bath canner or extra large pot
- 14 quart jars With lids and bands, I wash my jars in hot, soapy water before starting
- Jar lifter
- Couple Kitchen towels
- Set of measuring spoons
Ingredients:
- Fresh Peaches- about 24 pounds of peaches (half a bushel) that have ripened.
- Lemon juice– to prevent the peaches from browning and help with acidity for safe canning.
- Organic cane sugar– or a packet of Stevia per jar.
How To Can Peaches:
Find the step-by-step tutorial for canning peaches down below in the printable recipe card.
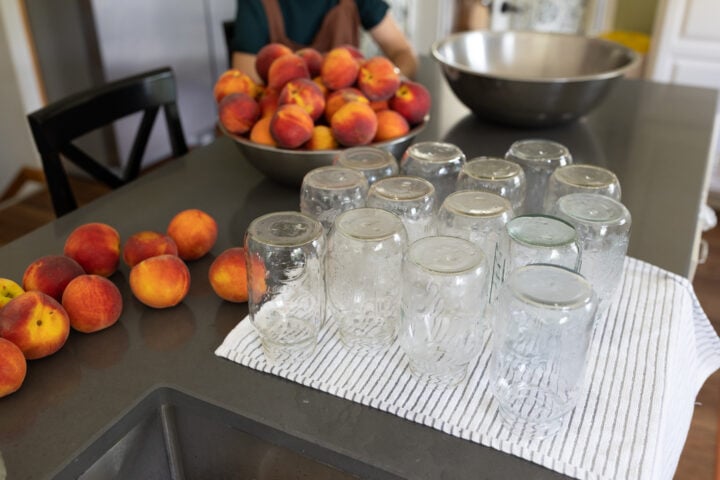
- Prep the jars- I wash mine in hot soapy water or run them through the dishwasher on sanitize cycle to get them ready for packing. I use new lids for a proper seal.
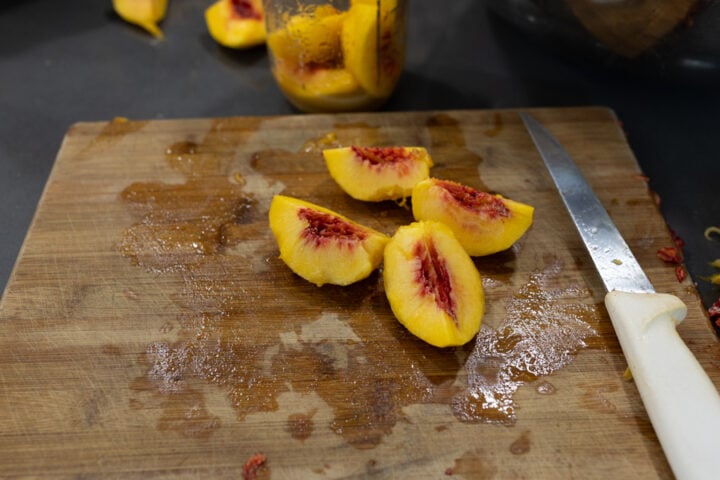
- Peel the peaches, if you can get a helper for this, your canning will go by faster. We use a kitchen peeler for this and remove the skins off then slice the peaches in half, remove the pits, and slice into wedges.
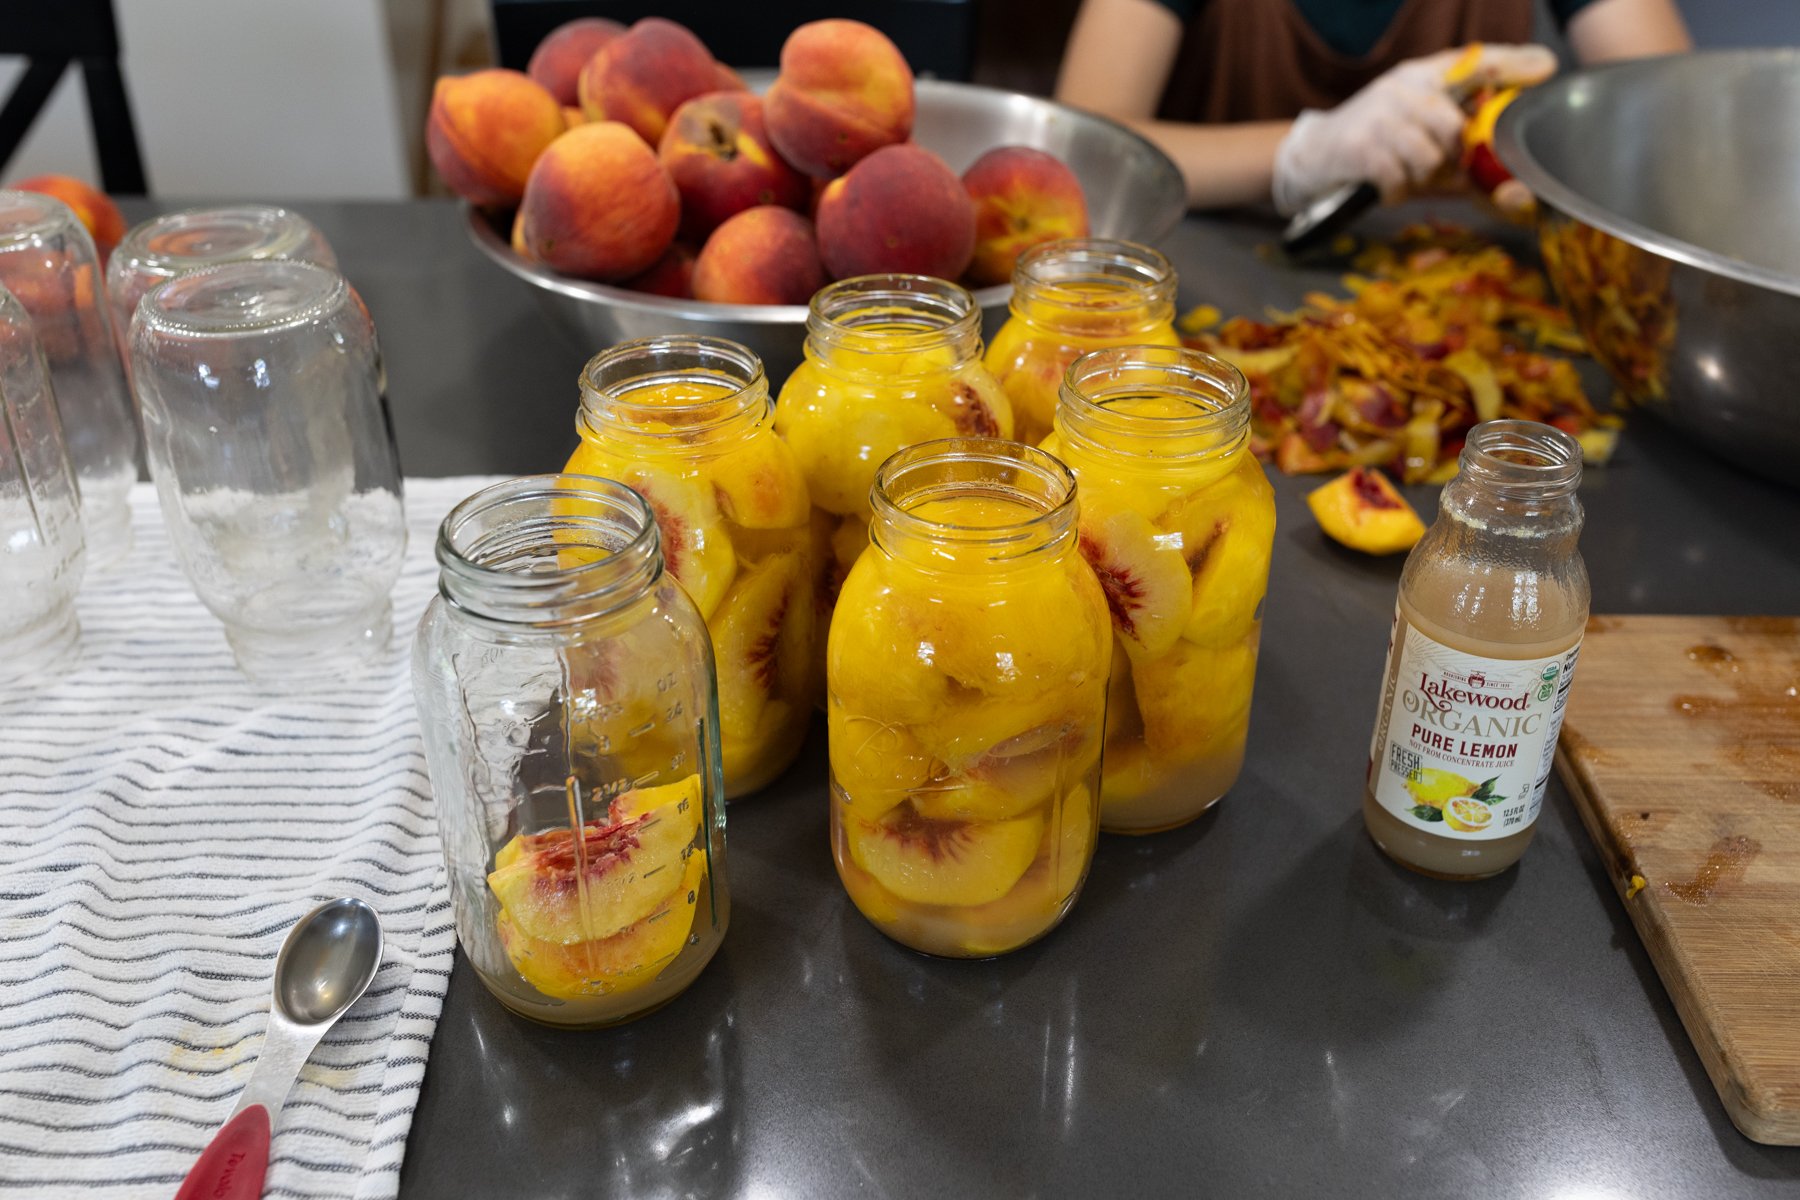
- Assemble Jars: meanwhile, while the peaches are being peeled, put 2 tablespoons of lemon juice into each jar with 3 Tablespoons of sugar and pack the sliced peaches into each jar to the neck (headspace of the jar).
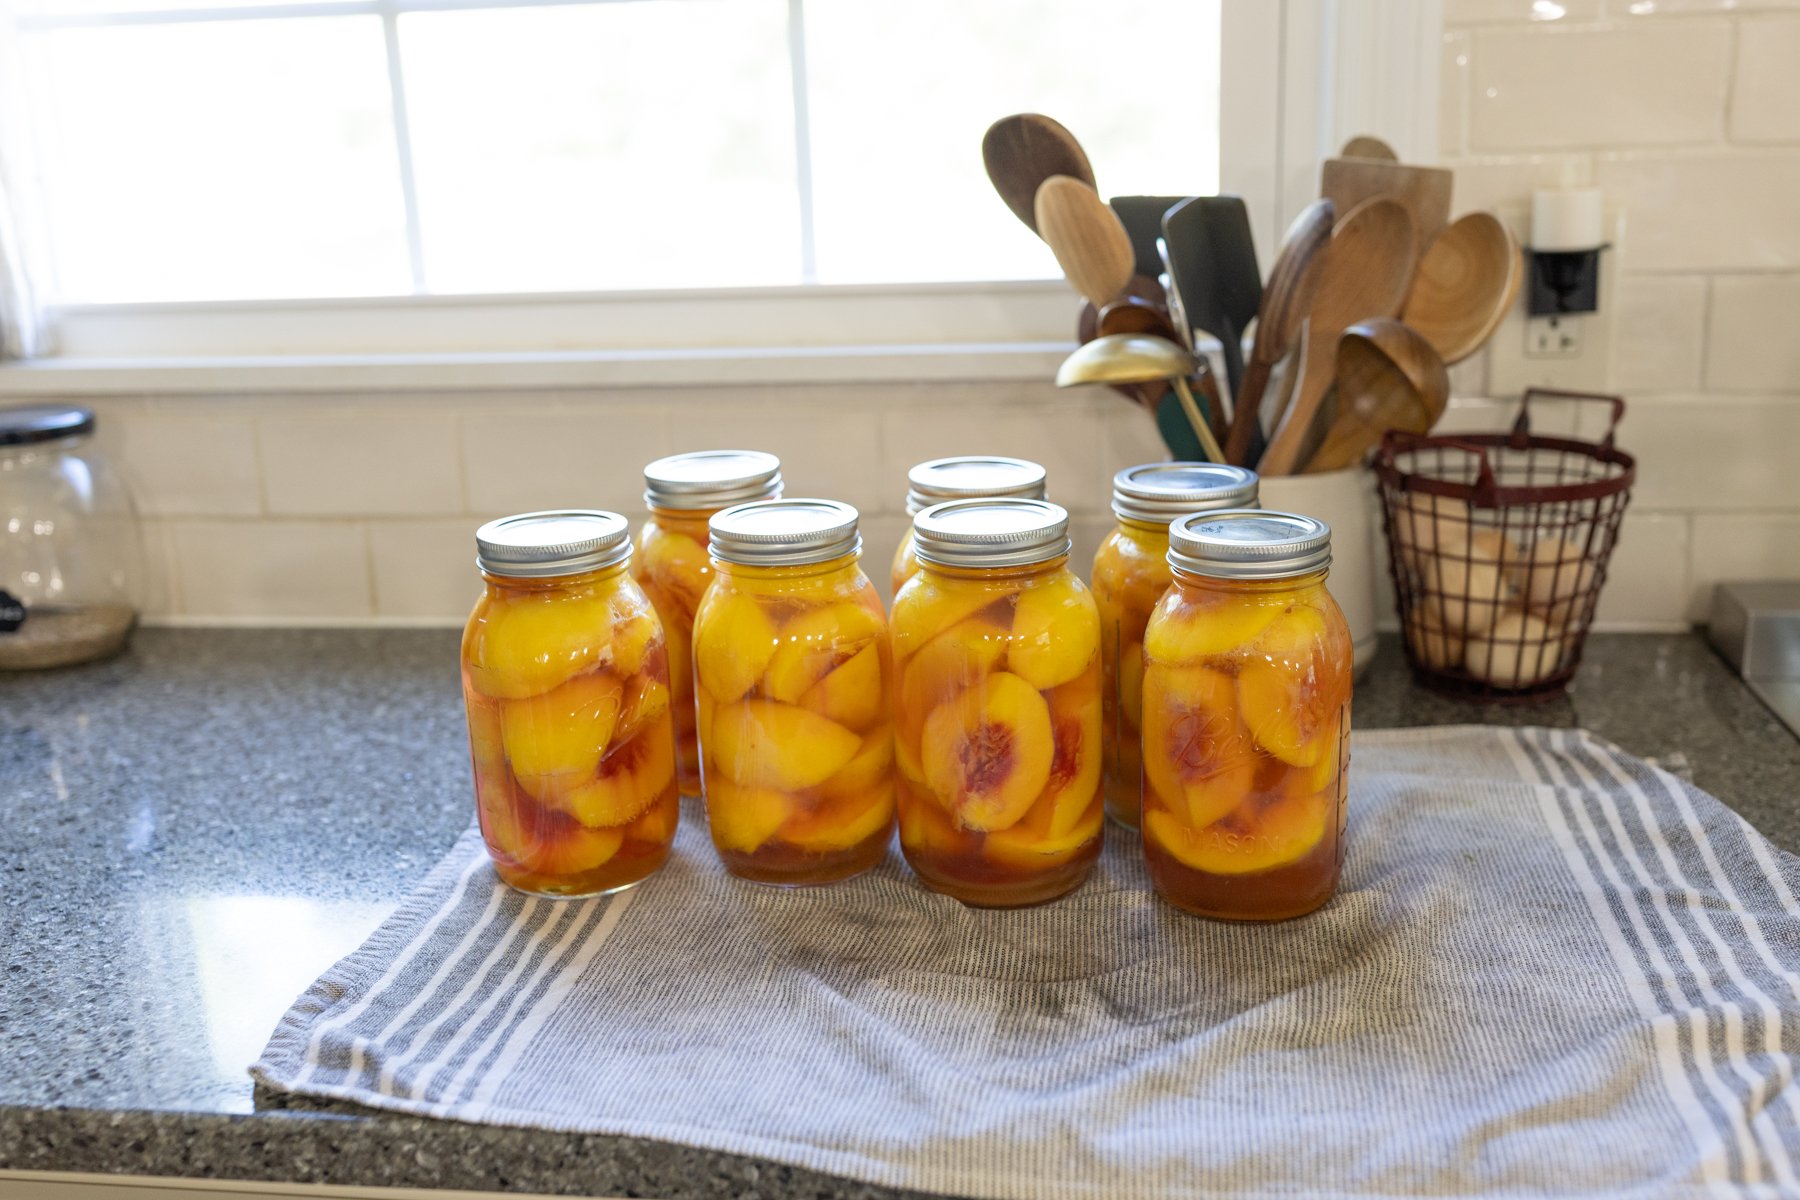
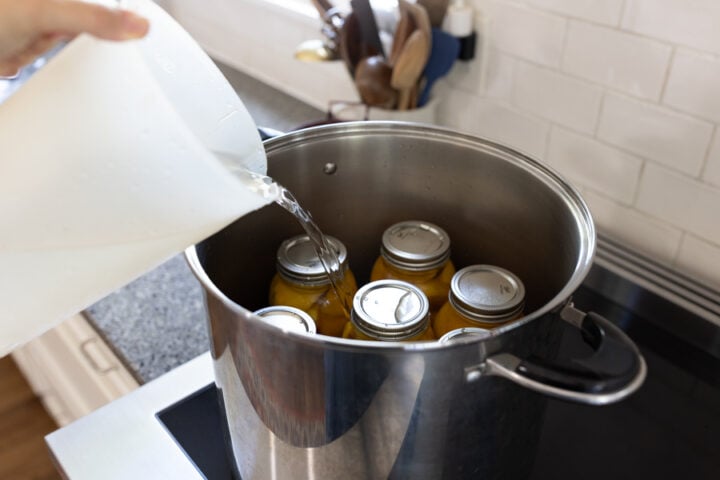
- As soon as one jar is filled with peaches, cover it with cold filtered water so the peaches don’t brown. Once you get 7 quarts filled, you can cap the jars and transfer them to a water bath canner. Cover the jars with lukewarm water and bring the pot of jars to a rolling boil. Then, time the canner for 5 minutes. Remove the jars with a jar lifter and tightly shut the bands of each jar with a kitchen towel to seal properly later. The bands often get loose after the canner, so I like to do this afterwards.
- Allow jars to sit on the counter for up to 24 hours. Check the seals and if they sealed properly, store them on the shelf in a cool, dark place.
When checking if the lids have sealed, press down on the center of the lid, and if it pops back, this is an indicator that it didn’t seal.
Do I Remove White Rough Spots Near the Pit of the Peaches?
Typically, the white rough spots near the pit of the peach are harmless and safe to eat. I would not confuse Callus tissue with black and green mold, in which you would need to discard the peach. If the white spots near the pit bother you, just trim them off the surface with a knife.

Pro Tip: Sometimes part of the sugar doesn’t completely dissolve after the water bath canner; however, give it two days, and you will see how the sugar disappears on its own after it sits. I use an organic cane sugar that is a bit coarser, and it ended up completely dissolving after 2 days.
There are so many ways to use this canned peach recipe! I would love to hear your way in the comments below!
More Canning Recipes To Try:
Join My Weekly Newsletter
New recipes, homesteading, family life, what we eat in a week, and hospitality tips.
Pin this now to find it later
How To Can Peaches
Equipment
- 1 water bath canner, (or 24-quart pot)
- 14 quart-sized jars, (with bands and new lids)
- 1 Sharpf knife and cutting board, (for slicing)
- Kitchen towels
Ingredients
Ingredients:
- 24 lbs ripe peaches , (peeled, pitted, and cut into four wedges)
- 3 Tbsp granulated sugar, per quart jar
- 2 Tbsp lemon juice, per quart jar
- water
Instructions
Directions:
- Wash all the quart jars in hot, soapy water and prep all the bands and lids.

- Peel, pit, and cut the peaches into four equal wedges.
- Assemble the jars: add 2 tablespoons of lemon juice and 3 tablespoons of sugar to each jar. Pack each jar with peach slices to the headspace and fill with cold tap water.
- Wipe the rims of the jars with a kitchen towel and put the lids and bands on. Shut the bands finger-tight and place them into a canner or a 24-quart pot.
- Cover jars with lukewarm tap water and bring to a boil. Once the water is boiling, set the timer for 5 minutes.
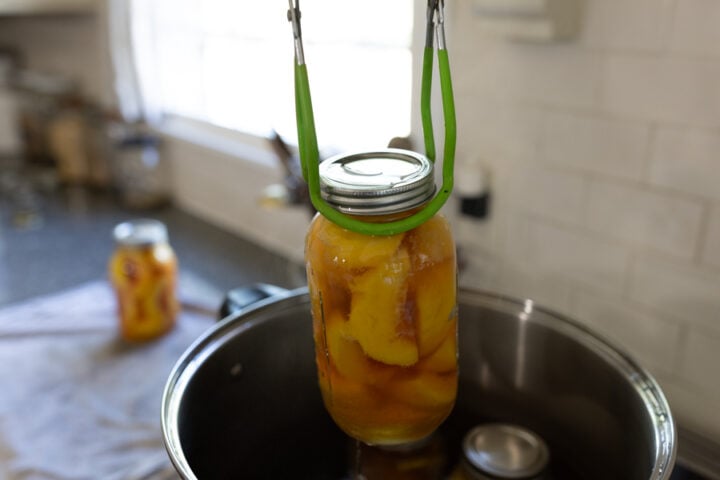
- Remove the jars with a jar lifter and carefully shut the bands tight, using a kitchen towel as they loosen after the water bath. Leave to rest up to 24 hours before checking for seals.


Notes
- You can add 1 packet of Stevia per jar instead of the three tablespoons of sugar.
- This sugar-to-water ratio makes a light syrup.
- Don't over-boil the peaches in the water bath, as the peach slices will turn into mush and float to the top.
- Pack as many peaches as you can up to the neck of the jars, so that you don't end up with floating fruit.
- If you prefer to use a pressure canner, bring it to 5 pounds of pressure and shut it off.
Nutrition (per serving)
Tried this recipe?
Mention @alyonascooking or hashtag #alyonascooking.