

This post may contain affiliate links. Read our full disclosure.
I think many people complicate sourdough. If it was complicated, I would never be keeping up with one for so many years. Some people prefer a thick starter, others like me work with a pancake-like consistency starter. Whatever the case might be, I’d like to share my sourdough routine for you to get a glimpse of how easy it can really be.
How My Ukrainian Ancestors Maintained Sourdough
Sourdough of old days were made with the simplest tools. My great grand mother didn’t have a scale or a fancy lame.
This laid-back sourdough approach resonates more with the way our ancestors made bread; it had to have been simple. They didn’t have all the modern conveniences today but yet knew how to preserve leaven without a refrigerator! Do you want to know how?
My mother-in-law told me she used to reserve the dough from the sides of her mixing bowl when she made her bread for the week. She would then cover the scraps of dough with flour (from the local mill) and it would preserve it that way without refrigeration! I think that’s so neat!
The convenience with modern day sourdough is that if you don’t get around to baking bread on the same day, you can put it in the fridge and continue to bake with it the next day.
I also like that I can make a diversity of baked goods as I can maintain however much starter I want with the convenience of having it sit in the fridge.
Where I Got My Sourdough Starter?
I acquired my sourdough starter from a relative who has been baking with sourdough way before I did. My aunt kept it very active, bubbly, and used it a lot.
So, if you know anybody who has one just ask them to give you a little. Once you have a well maintained sourdough starter, it will be ready to use within 4 hours after a feeding.
If you’re like me, you’ll realize how quickly sourdough accumulates.
So, that’s about the time I started selling sourdough starters. I tried that out for a little but then quickly realized that’s not what I want to be pursuing. I will still happily share my sourdough starter with you if you’re desperately in need of one, but it really doesn’t take much to make one from scratch. Watch how to easily make a sourdough starter without a scale!
Anyways, this is all to say that’s when I learned to use sourdough more efficiently.
My Simple Sourdough Routine
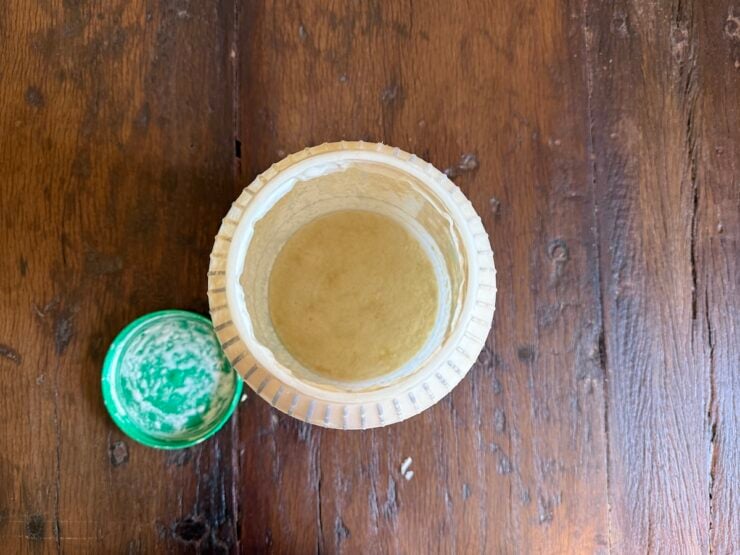
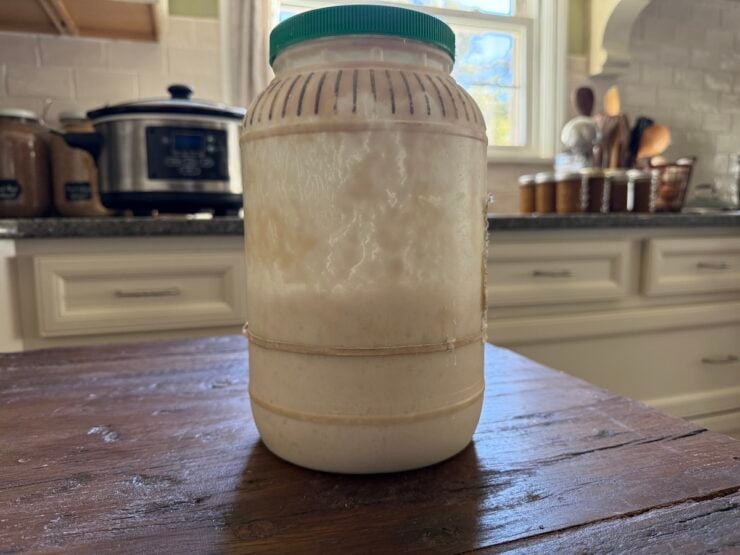
Here is my basic sourdough process from start to finish. This is how my starter looks unfed in the fridge after a week or two.

Believe it or not, I keep an old gallon-sized, ranch dressing container from a restaurant supply store to hold my starter. I thought it was only wise to do that, after hearing how my aunt threw away her starter from dealing with a shattered jar. So, on my baking day, I’ll take it out of the fridge sometime early morning.
In this container, I always try to reserve about 1-2 cups of starter. This is the amount of starter I start with before a feeding.

I then add 2 heaping cups of unbleached flour.

Then, I’ll add 2-3 cups of warm tap water (we have well water).

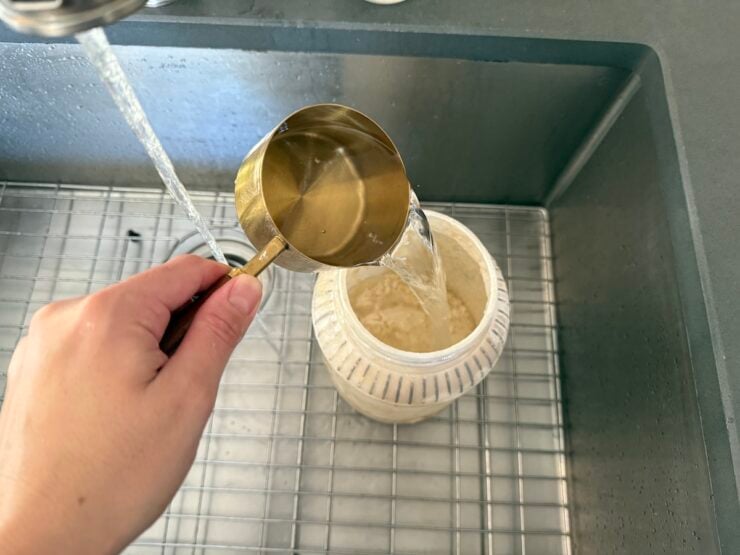
Using a long whisk I mix the starter well with the flour and water that I that added.

It should be the consistency of a pancake batter.
I adjust the rubber band around the container to where the starter is at, to see the progress of the growth later.
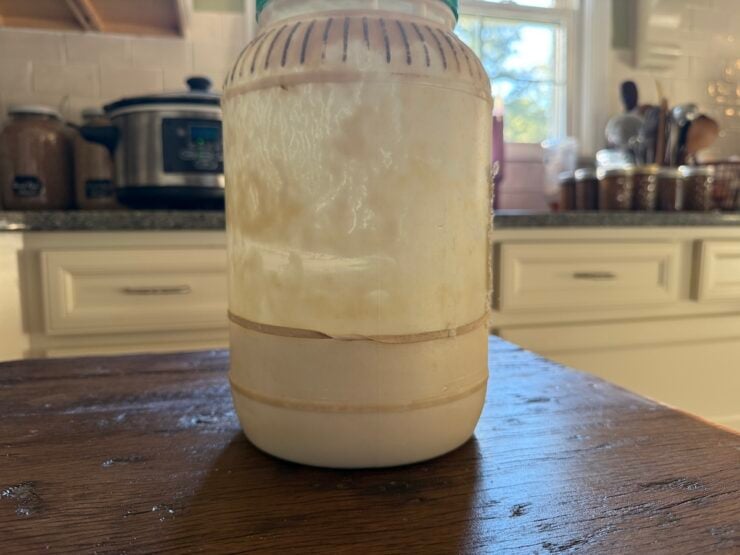
You can also use a large glass jar with a lid to keep your starter in, I think those look so appealing.
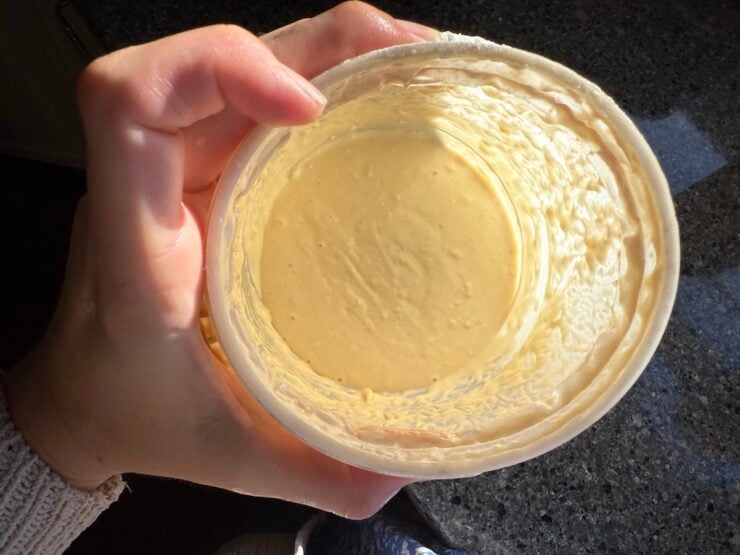
After about 4 hours my starter has risen by about half and looks very bubbly.
This is when I take out my kitchen scale and start milling my grains to make all of my weekly sourdough breads. I usually have around 5 cups of active starter at this point. So, I plan on making several different types of sourdough breads, sometimes just doubling my favorite recipes if I’m in a rush.

Once I finish preparing all of my sourdough breads, I make sure that I have the same amount of sourdough starter that I’ve started with (this is about 1-2 cups of starter). I will then let the starter hang out on the counter for a few hours so that it gets a little hungry. Then I put into the fridge until my next baking day (usually in a bout a week).
Sourdough With Fresh Milled Flour
In about a week I do the same exact process, only maybe switch up the breads but majority of the time I’m baking these Sourdough Sandwich Loaves, Artisan Bread, and Bagels all made with fresh milled flour.
There are days I will switch it up and make jalapeño cheddar bagels, sourdough biscuits, or English muffins but generally those first three are my staples. I also double or triple some recipes depending on how much starter I want to use up. And if I have ½ cup of starter to spare from the amount I try to retain (of 1-2 cups starter) I will make pizza dough to keep in the fridge for busy weeknights.
I make most of my sourdough breads with freshly milled flour. If your new to that check out my guide to baking with whole wheat flour where I go into depth about milling grains and the different type of wheat berries to use for baking.
Basically, what that looks like for me is simply using an electric grain mill to make whole wheat flour from wheat berries. This only takes a couple of minutes using a powerful electric mill and I have fresh milled flour that is wholesome and so good for you.
How I Bake Sourdough Bread Weekly For My Family
Typically, I plan for a sourdough baking day at least once a week to restock all of my breads. I would then freeze the baked sourdough breads or have the batter of whatever I’m making that week (like sourdough pancakes) in the fridge.
If I don’t get around to baking all of my breads in one day (which I prefer) I will just pop them in the refrigerator and bake them the next day.
Is Sourdough More Flexible Than Commercial Yeast?
Sourdough is such a flexible leavening. I can leave out my leavened dough to rise or hide it in the fridge to slow it down and ferment slowly. Then If I want things to progress again I can take it out bring it to room temperature and it will slowly rise again.
It’s much better than using commercial yeast in my opinion as it gives me more flexibility during busy days. Meaning I can mix up the dough and come back to it whenever or put it in the fridge. Whereas yeasted bread doughs need to be baked in a small amount of time.
It’s important to know that when you are using a sourdough starter it calls for a slow rise and much more flexibility, unlike yeast where your dough is in a speedy mode.
I personally find sourdough bread making to be more hands off and easier without the use of a mixer or yeast. It just takes some intentional planning and preparation like feeding a starter.
To make this easy, jot down when to feed your starter in a planner. Then make a list of the breads you want to make and calculate how much starter each recipe requires. Calculate to see if you’ll have enough starter for all your breads. This makes baking day easy, when you know exactly what you’re making and if you have enough starter to work with.
Stretch and Folds vs Kneading
I mostly do the Stretch and Fold Method vs Kneading in a Mixer, with all of my sourdough breads now!
The stretch and fold method is so much easier because there is just one bowl and no mixer required. Using a mixer takes a long time for freshly milled flour to develop gluten and can often burn your motor on a mixer. I’ve realized that just using sourdough with fresh milled flour is something that goes together so well.
This is because you are letting the dough ingredients soak up the flour and break down easier. Whereas a mixer would be forcing the gluten development in order to form elasticity. In other words kneading the dough in a mixer will work, however, it’s not necessary when using sourdough starter in conjunction with fresh milled flour.
Whenever I make dough now, I usually mix up the dough ingredients in a stoneware bowl using my hands. Then I cover my dough with a damp tea towel or shower cap and walk away for about 30 minutes. The gluten starts naturally developing just from that interaction
So, the first stretch and fold is bit shaggy then after two or three its smooth and elastic. I will usually do 4 stretch and folds and this works for just about any dough! Including my sourdough dinner rolls made with fresh milled flour.
Making bread this way is more streamlined and involves no additional tools. All you need is your hands and a few seconds to perform a stretch and fold. Besides, I’m usually around my kitchen to make that stretch and fold. However, if you need to force it with a mixer because you’ll be out of the kitchen most of the day then a mixer may be a better option at that time.
Summary
My simple sourdough routine is not complicated and in fact a simple routine is sometimes the only way to get bread on the table. I’m for easy, approachable breads that my family will enjoy and that I can share with others.
In closing, baking with sourdough has become a part of my lifestyle and homemaking journey. I’ve developed a routine that works for me and this routine is very simple and actually goes hand-in-hand with fresh milled flour as the two work together best.
If you have a sourdough routine that works better, I’d love to hear your thoughts or comments!
For more content like this check out my weekly batch cooking where I prepare my favorite freezer meals to help on busy days or for hosting those unexpected guests. Those are like my backup meals, I try to make once in a while for those unexpected times.
If I sparked any new ideas for your sourdough routine, or if you’d like to share what works for you, then I’d love to hear back from you! Comment below and let’s talk!
–Happy Baking!